User Console
User Console is a tool for you to browse your application users on the developer portal.
It allows you to:
- See a list of users
- Add new users
- Check/update the existing user's attributes
- Delete the existing users
Listing Users
You can get a list of all application users by launching the user console with the following steps.
- Select the application on the developer portal.
- Click on the "Users" icon.
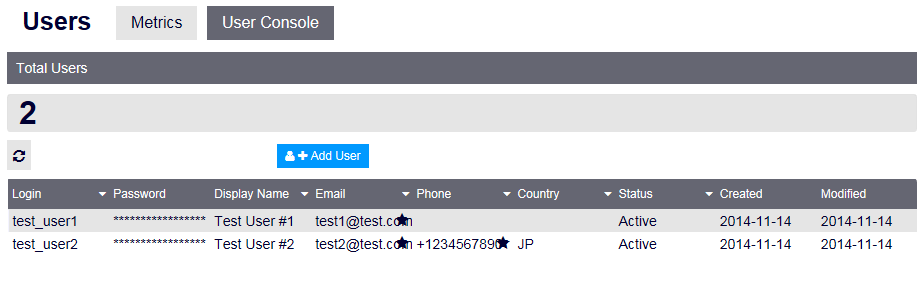
This will bring up the user console with a list of all users.
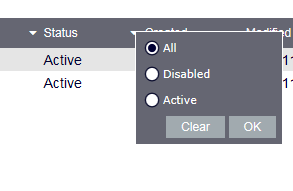
Filtering Users
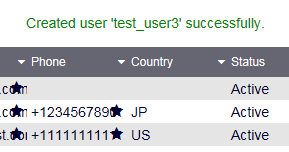
You can freely filter the user list for all columns except Password, Created, and Modified.
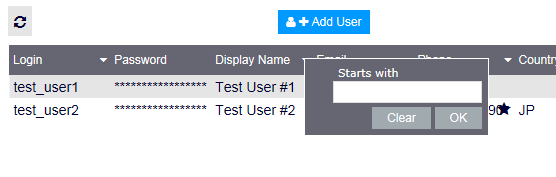
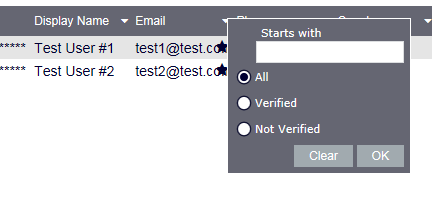
Use the "Query by" and "Query value" UI to set your filter. The corresponding query condition will be set in the "Query" field and will be applied to the user list.

- You can also set your query condition directly in the "Query" field. Clicking the "help?" will show you some examples of how you can set your query condition.
- You can save the current query condition by clicking the "Save" button at the right of the "Query" field.
Adding New Users
To add a new user, click the "+ Add User" button.
Enter the login name, password, and other information in the form. Click the "Save button" when done.
Checking and updating Users
To check the existing user, click the user in the list.
From here, you can perform the following operations.
- Enables or disables (suspends) users.
- Resets user passwords. This requires a verified email address.
- Resends email/phone verifications.
You can also modify the user details. In this case, make sure to save the modification by clicking the "Update" button when you are done.
Checking and updating the custom fields
Clicking the "Custom Fields" tab will bring up the custom field editor.

Any valid JSON is accepted, provided it is a JSON object (not an array or otherwise). These are saved to the custom attributes of the user.
Click the "Save" button when you are done.
Checking groups
Clicking the "Groups" tab will show you the list of groups in which the user is an owner and member.

Deleting Users
To delete the existing user, click the "Delete" button.