Manage Triggers
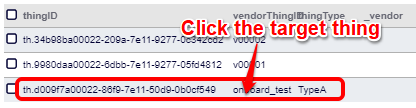
After launching the thing console and bringing up a list of things, click the thing you want to manage.
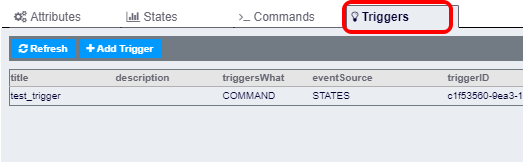
The thing attribute screen will show up. By selecting the "Triggers" tab, a list of the existing triggers will show up as follows.
You can make the following operations.
Manage the existing triggers
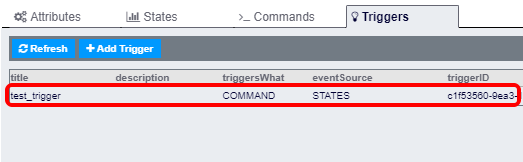
From the trigger list, click the trigger you want to manage.
The trigger details will be shown as follows.
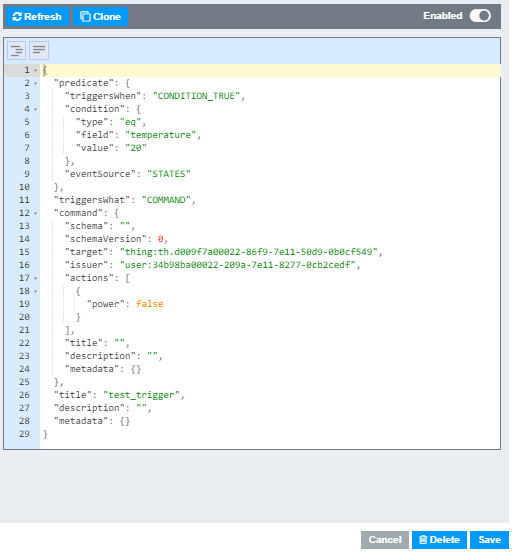
Edit the trigger
Edit the trigger in the editor. When you are done, press the "Save" button.
Delete the trigger
Press the "Delete" button at the lower right corner to delete the trigger.
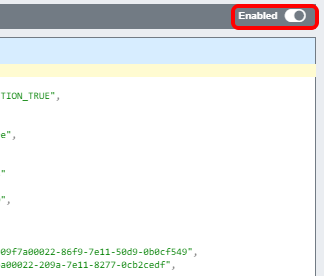
Enable/disable the trigger
Press the toggle button at the upper right corner to enable/disable the trigger.
Register a new trigger
There are two ways to register a new trigger.
In either case, you will define a trigger in the JSON format. See Triggers for the details on how to define a trigger.
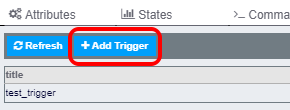
Start from a scratch
If you want to register a trigger from scratch, press the "Add Trigger" button.
The trigger editor will show up as follows.
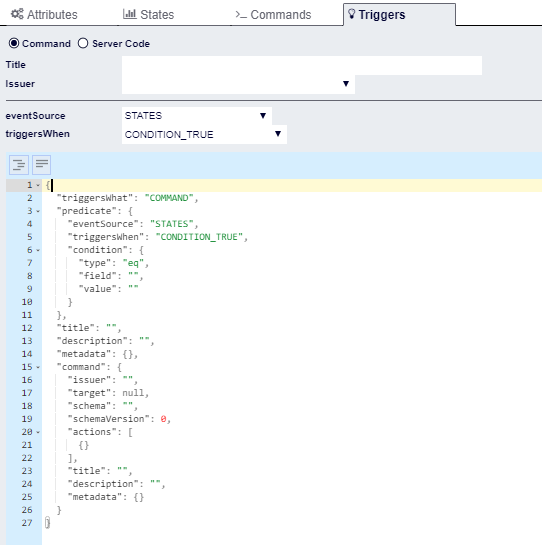
Specify the trigger title, command issuer, execution target, and execution condition in the upper section of the editor. The trigger definition with the specified information being filled will show up in the lower section of the editor.
When you are done with defining the trigger, press the "Register" button. The trigger will be registered and enabled.
Clone the existing trigger
If you want to reuse the definition of the existing trigger for creating a new trigger, select the original trigger in the trigger list and press the "Clone" button.
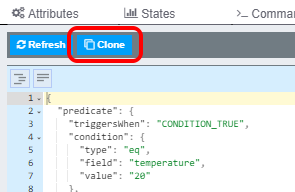
The trigger editor will pop up with the definition of the original trigger being filled.
When you are done with editing the trigger definition, press the "Register" button. The trigger will be registered and enabled.