Configure the Build Environment
To leverage GCM, you need to configure your project to use the libraries provided by the Google Play services.
Downloading the library
You can download the Google Play services library (Google Repository) on Android Studio.
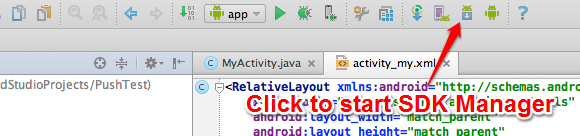
Launch "SDK Manager" from the toolbar at the top of Android Studio.
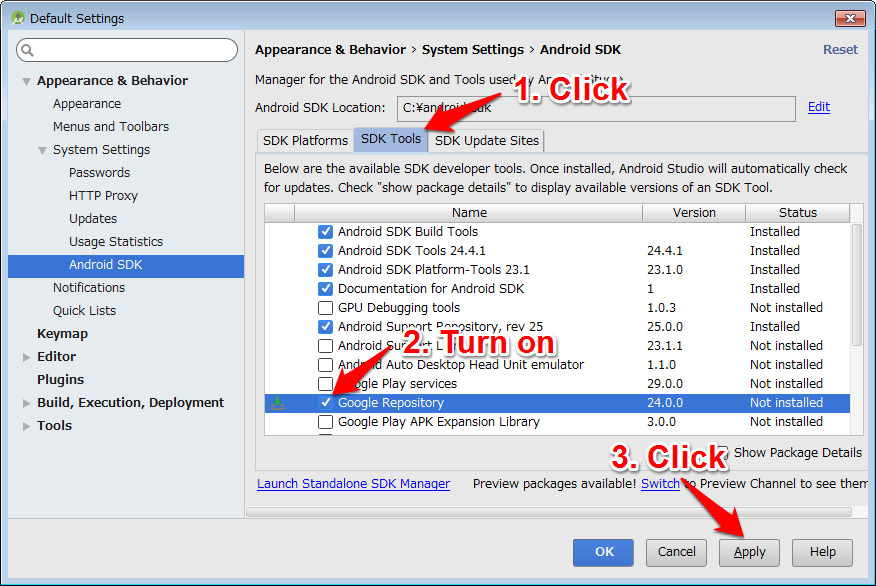
The SDK configuration screen will show up. Open the "SDK Tool" tab, select "Google Repository" from the list, and click the "Apply" button. The library will be downloaded and installed in the build environment.
If the library is already installed, just close the screen.
Configuring build.gradle (project)
Next, open the build.gradle file in the project root directory and add classpath 'com.google.gms:google-services:3.0.0' in the buildscript/dependencies.
The file should be now like this:
buildscript {
    repositories {
        jcenter()
    }
    dependencies {
        classpath 'com.android.tools.build:gradle:2.1.2'
        classpath 'com.google.gms:google-services:3.0.0'
        // NOTE: Do not place your application dependencies here; they belong
        // in the individual module build.gradle files
    }
}

allprojects {
   ...
3.0.0 is the latest working version at the time of updating this document. If the newer version is available, you should be able to set it with no problem (but you might get a conflict error with the play-services-gcm set in the next step). You can also specify + to apply the latest version, but note that this might put some unexpected updates in your project.
Configuring build.gradle (module)
Open the build.gradle file located under the build target module (i.e., under the app directory by default) and edit the file as follows:
- Add
implementation 'com.google.android.gms:play-services-gcm:9.0.2'orcompile 'com.google.android.gms:play-services-gcm:9.0.2'in the dependencies section. - Add
apply plugin: 'com.google.gms.google-services'at the root level.
The configuration to be added depends on the version of your Android Studio. The file should be now like this:
-
apply plugin: 'com.android.application' android { ... } dependencies { implementation fileTree(dir: 'libs', include: ['*.jar']) ... implementation 'com.google.android.gms:play-services-gcm:9.0.2' } apply plugin: 'com.google.gms.google-services' -
apply plugin: 'com.android.application'

android {
    ...
}

dependencies {
    compile fileTree(dir: 'libs', include: ['*.jar'])
    ...
    compile 'com.google.android.gms:play-services-gcm:9.0.2'
}

apply plugin: 'com.google.gms.google-services'
9.0.2 is the latest working version at the time of updating this document. If the newer version is available, you should be able to set it with no problem (just like the google-services).
Alternatively, you can use "all-in-one" Google Play services that also contain non-GCM features by putting the following dependencies. Be careful, however, that this will cause a build error in some cases; depending on other libraries you are using, the number of methods could exceed the upper limit allowed. Consider using Multidex or another method to solve the issue.
-
dependencies { implementation fileTree(dir: 'libs', include: ['*.jar']) ... implementation 'com.google.android.gms:play-services:9.0.2' } -
dependencies {
    compile fileTree(dir: 'libs', include: ['*.jar'])
    ...
    compile 'com.google.android.gms:play-services:9.0.2'
}
Reflecting the configuration
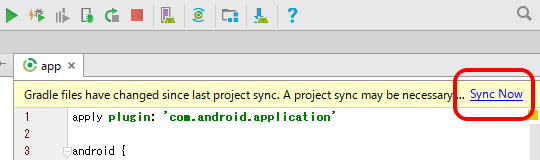
When you are done with the above configurations, click the "Sync Now" on the top of the screen to reflect the changes. Now the libraries are automatically downloaded and referenced from the program.
This is all for the setting. Let us move to the next step: Configure the Manifest File.
| << Configure Kii Cloud | Configure the Manifest File >> |