Create a Google Project
The first step is to create a project in the Google environment.
Note: You need to be registered as a Google Play developer in order to walk through this tutorial.
In this page, we explain how you can create a project with the "Get a configuration file" feature provided in the GCM documentation site (you an alternatively create a project on the Google Developers Console).
Once the configuration is done, you can download the JSON file. We will integrate this file into the Android project so that the application can refer to the configuration.
Creating a project
Open the tutorial page in the GCM documentation site.
Scroll down to the section "2. Get a configuration file" and click the button "GET A CONFIGURATION FILE".

You will be directed to the Google Developers page.
Here, you can create a new application by entering the following information and by clicking the "Choose and configure services" button.
App name
- We will specify
PushTestthis time. This will be used by the Google Developers Console to identify the project.
- We will specify
Android package name
- We will specify
com.example.pushtestthat is the package name of the Android application.
- We will specify
Share your Google Mobile Developer Services data...
- Configure if you want to provide the application usage data to Google. Select at your will.
Your country/region
- Set the location where the application developer resides.

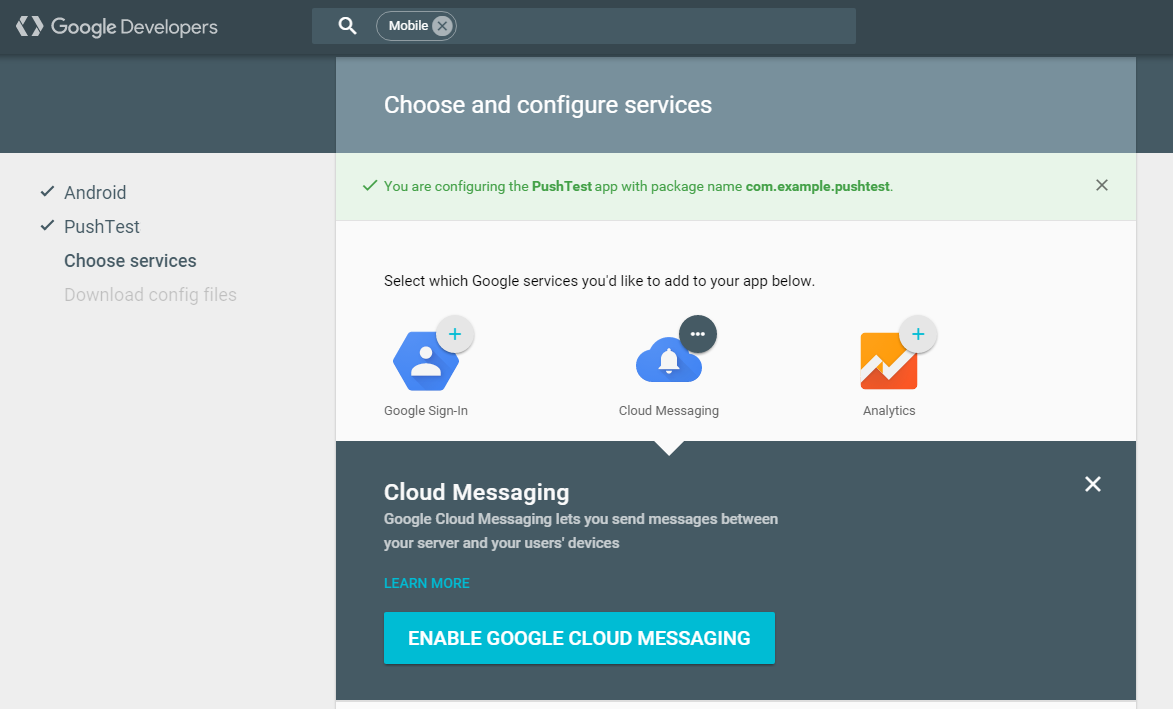
You will be now directed to the service selection screen.
Selecting the "Cloud Messaging" will bring up the next screen. Click the "ENABLE GOOGLE CLOUD MESSAGING".
The section will turn green indicating that the feature is now enabled. You will find the "Server API Key" and "Sender ID" by scrolling down a bit.
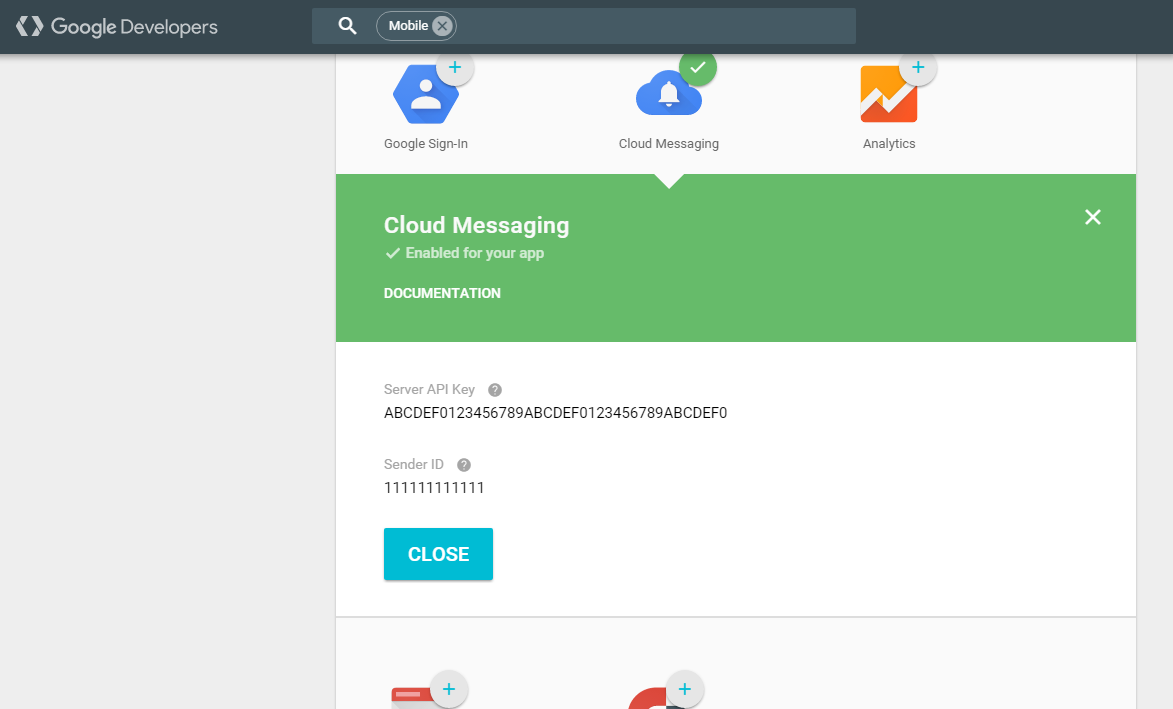
We will use the Server API Key and Sender ID later. For now, save these values somewhere (e.g., copy and pasting in a text editor).
Server API Key: We will set the value in the developer portal. In the developer portal, the value is called GCM Key.
Sender ID: This value will be auto-configured with the JSON file.
Now, scroll down and click the "Generate configuration files" button.
The button for downloading the JSON file will show up. Click the "Generate configuration files" button and save the JSON file on the local PC.
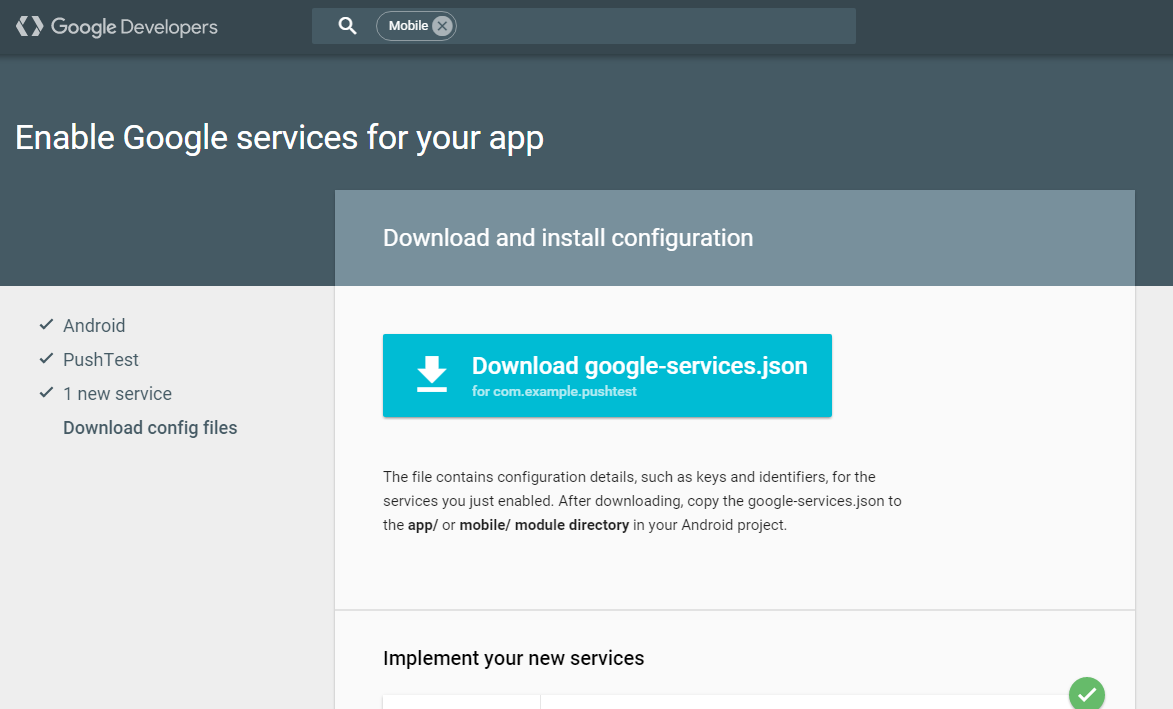
Copy the file you've just download in the app directory (mobile directory if you are implementing a Wear application) of the Android Studio project.
This is all for the configuration on the GCM side. You can now close the screen.
Checking the values again
If you want to check the Sender API Key and Sender ID again later, open the Google Developers Console.
Select the target project from the list and check following values.
- Server API Key: Check the "Key" in the "Server key" on the "Credential" screen.
- Sender ID: Check the "Project number" shown when you open the project.
To learn more about the Google Developers Console in general, consult other technical web pages.
Let us move to the next step: Configure Kii Cloud.
| << Create an Android Application | Configure Kii Cloud >> |